


How to Plug a Puncture on a Tubeless Bicycle Tire
How to Plug a Puncture on a Tubeless Bicycle Tire
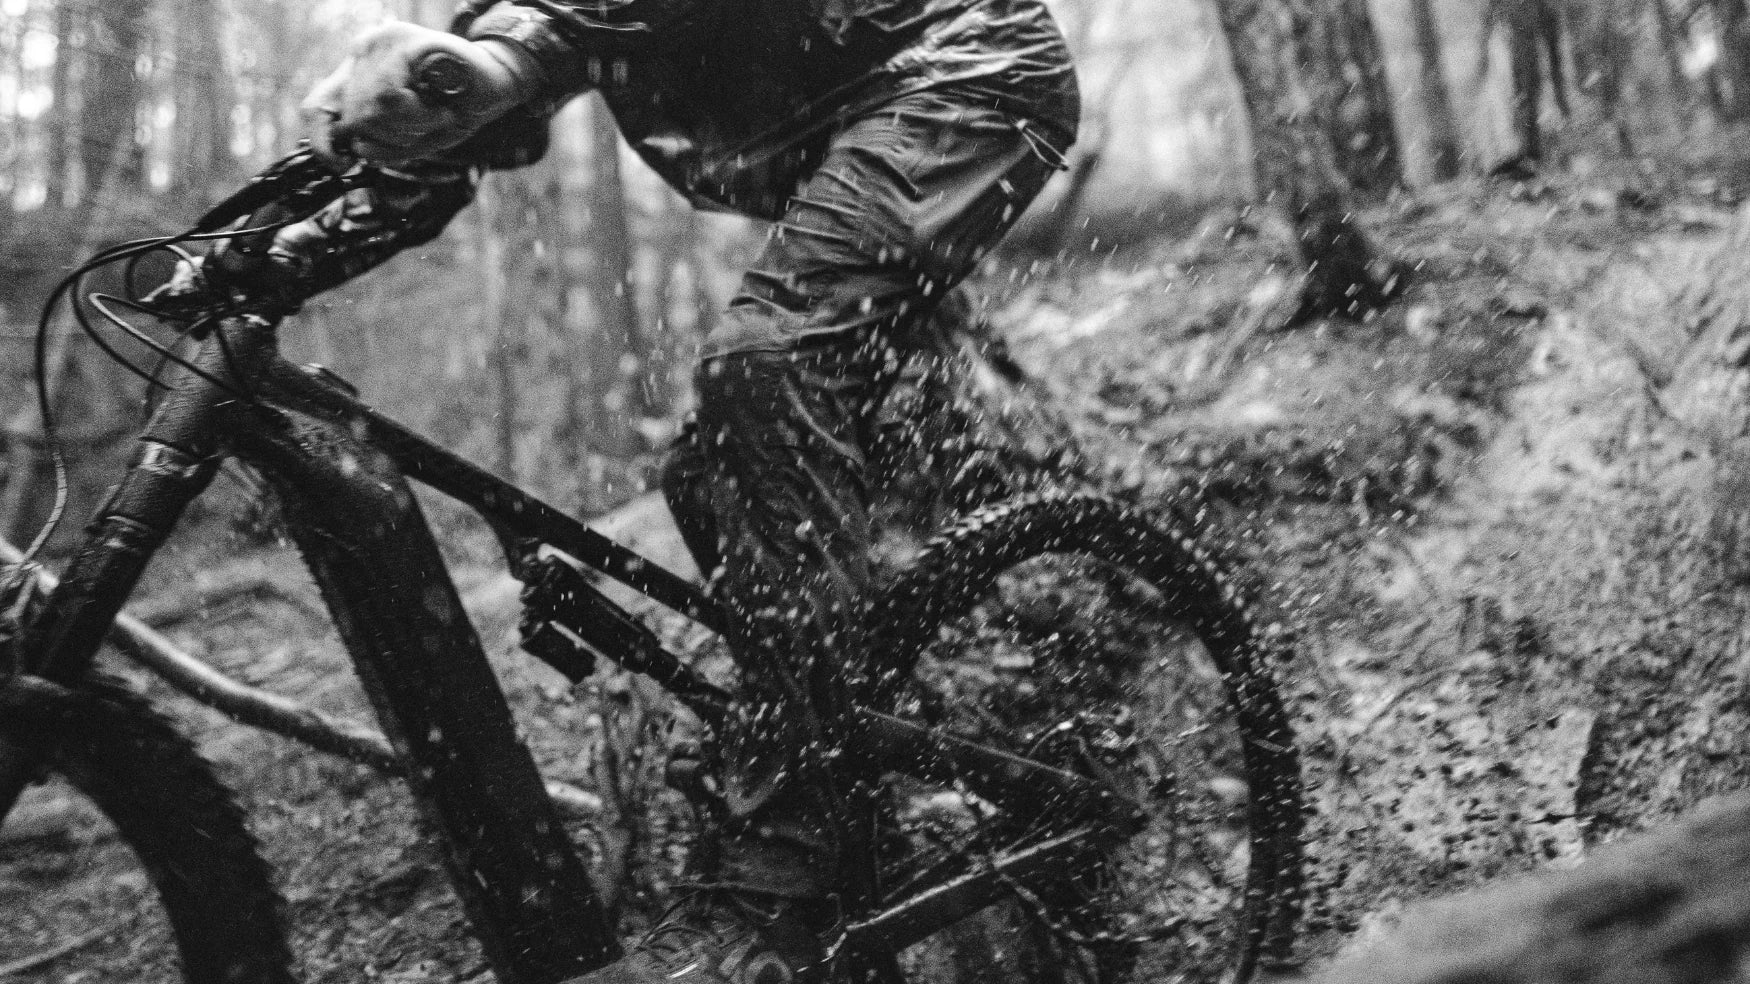
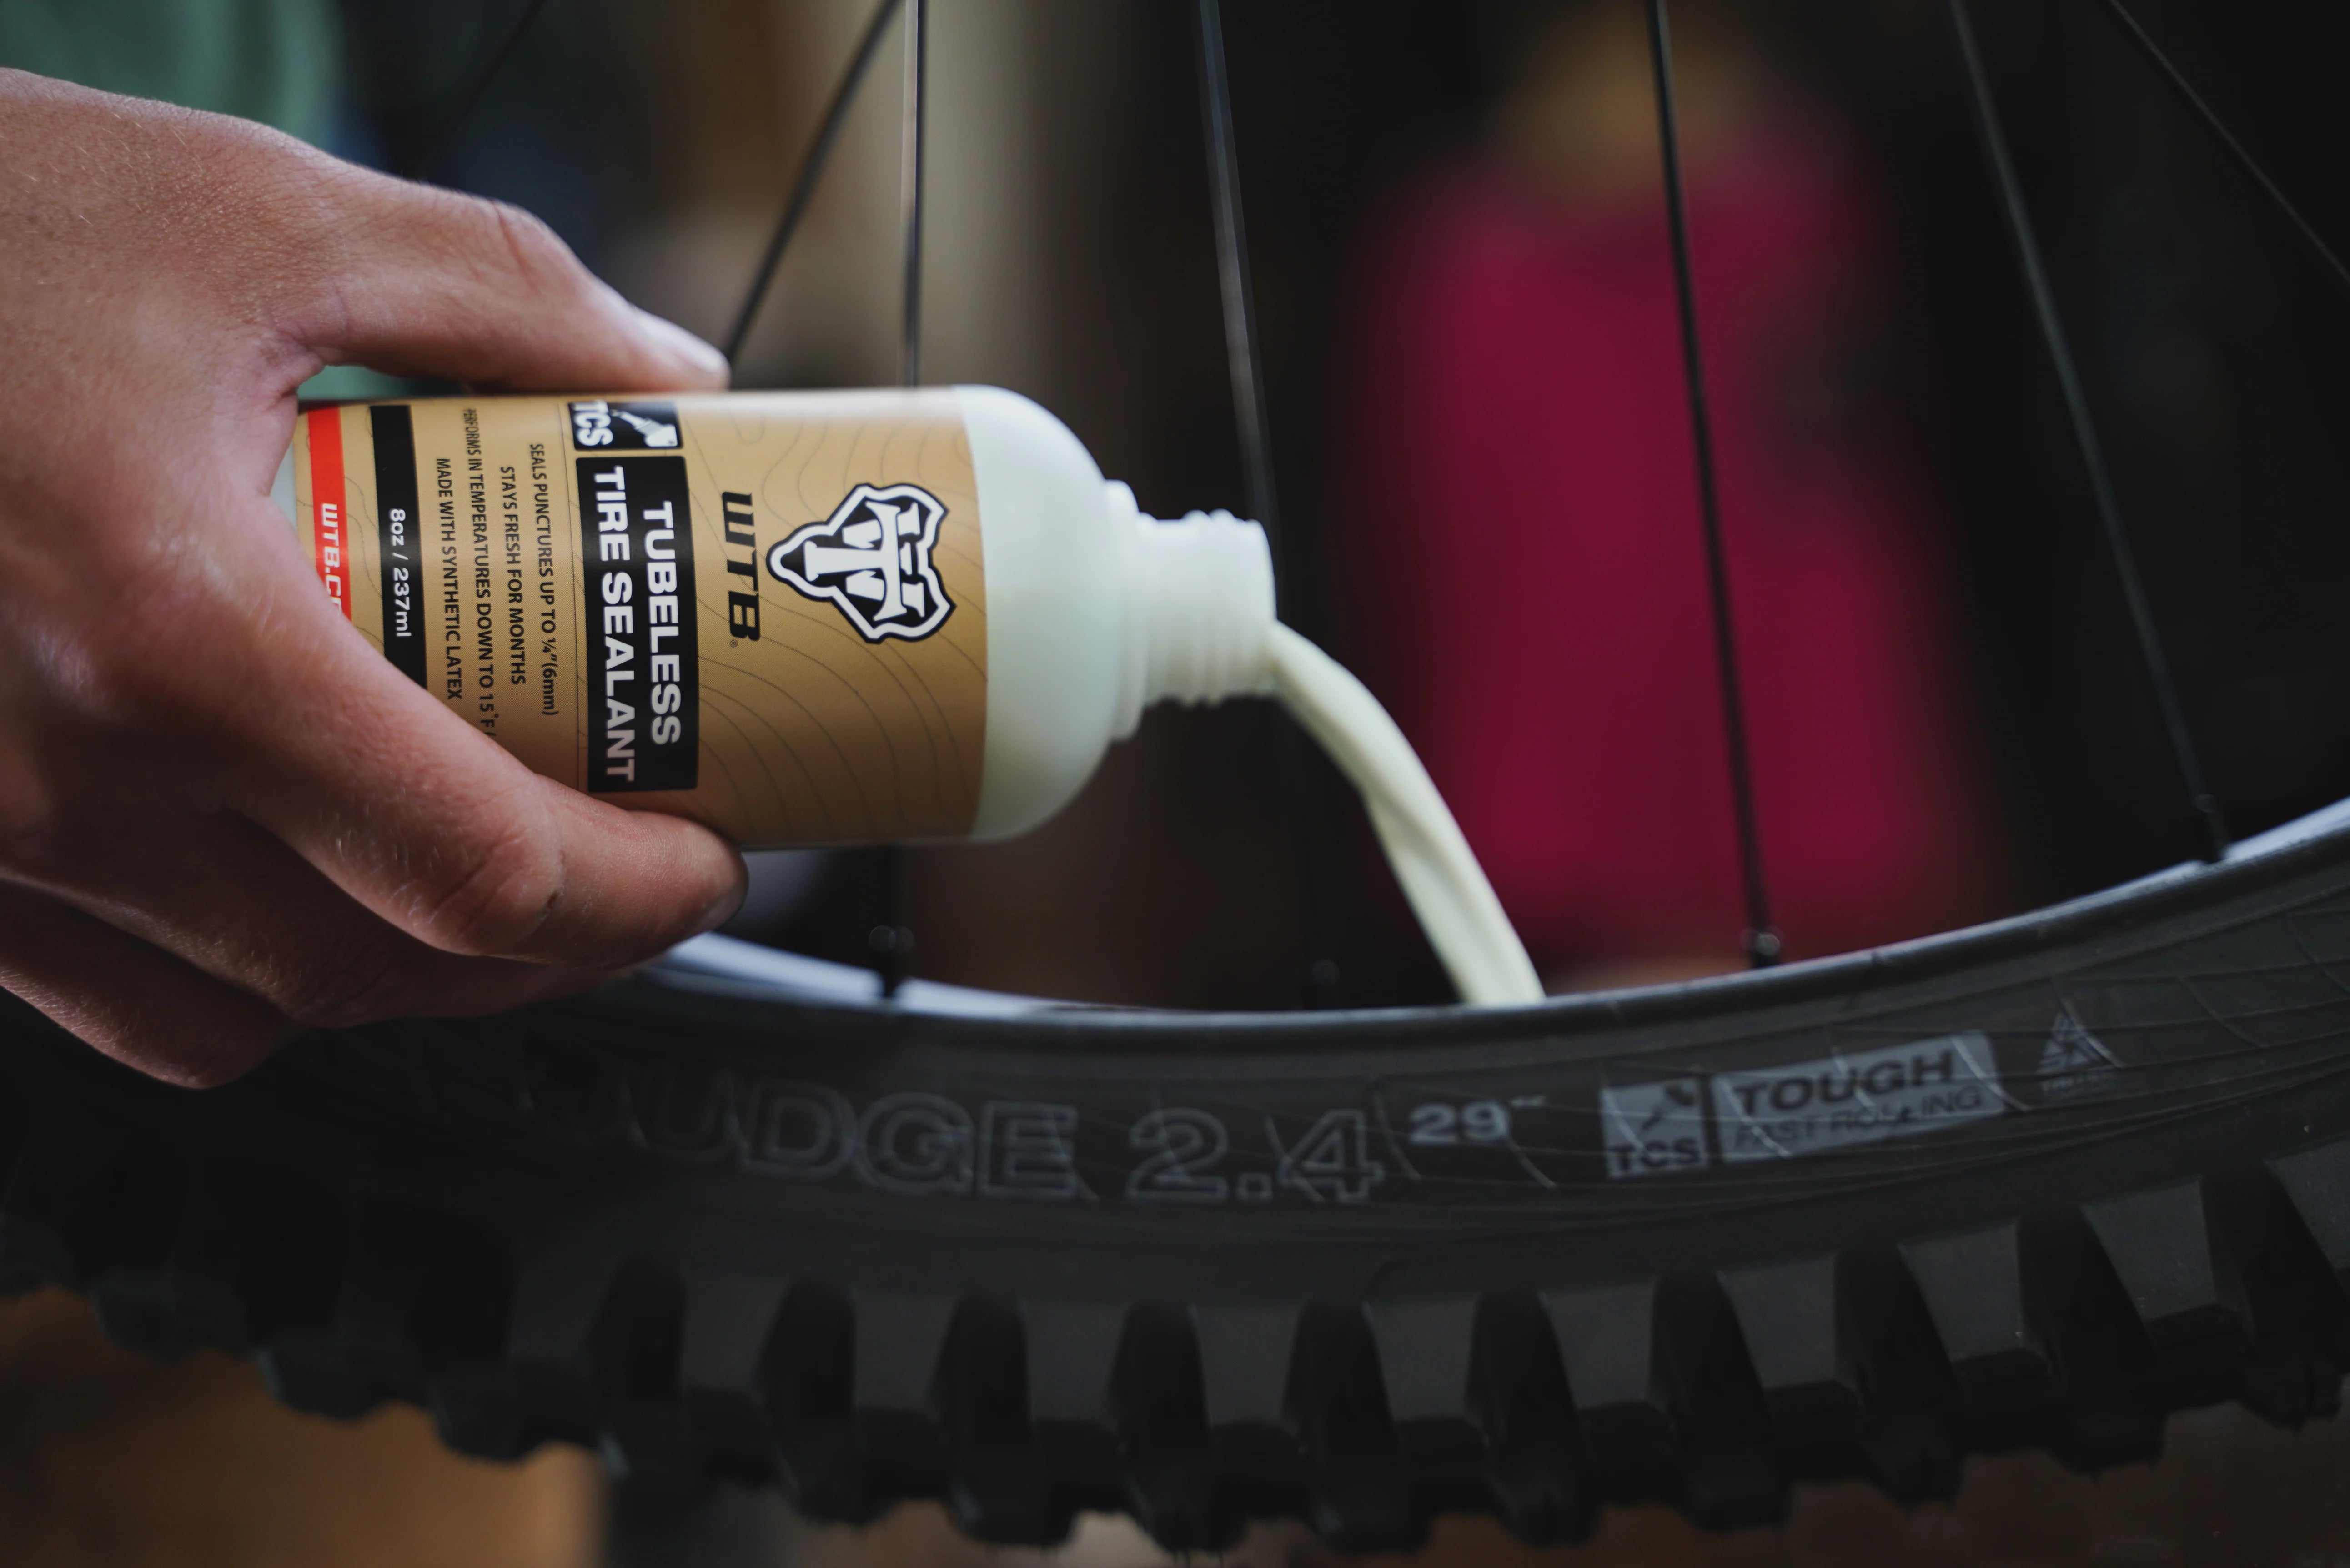
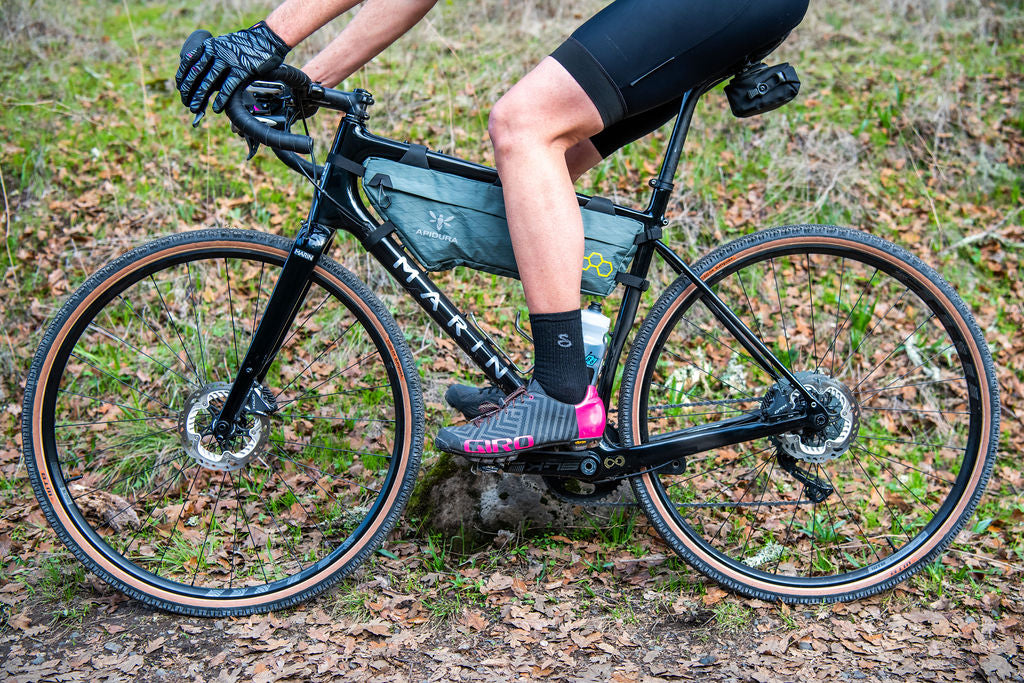
Tubeless tires have revolutionized cycling by offering fewer flats, better traction, and the ability to run lower pressures. But even with WTB TCS Tubeless tires, punctures happen—sometimes too big for sealant alone to seal. That’s when a tubeless tire plug kit, like the WTB Rocket Tire Plug Kit, becomes your best friend.

If you’re riding gravel, mountain, or even road tubeless tires, knowing how to plug a puncture quickly and effectively can keep you rolling instead of walking home. Here’s a simple step-by-step guide to fixing a puncture in your tubeless bicycle tire on the trail.
What You’ll Need to Plug a Tubeless Tire
Before you hit the road or trail, make sure you’re carrying these essentials:
✅ WTB Rocket Tire Plug Kit
✅ Hand pump or CO2 inflator
✅ Tire sealant (optional, if your tire is low on sealant)
✅ Tire lever (if needed for inspection)
Step 1: Locate the Puncture
• If you notice your tubeless tire losing air, stop immediately and inspect it.
• Rotate the wheel slowly while listening for air escaping.
• If sealant is bubbling out, you’ve found the hole! Grab the extra hand and put into puncture immediately.

Step 2: Prepare the Plug Kit
• Take out a plug strip (also called a bacon strip) from your WTB Rocket Tire Plug Kit.
• Insert it halfway into the anchor( small or large).
• If the hole is small, use a thinner plug; if it’s larger, double up on plugs.

Step 3: Insert the Plug into the Puncture
• Push the launcher( with plug and anchor on it) directly into the puncture, making sure the plug strip stays in place.
• Insert it deep enough so the plug can seal the hole completely, but leave some material sticking out.
• Slowly pull the tool out, leaving the plug/anchor inside the tire.
Pro Tip: Wiggle the tool slightly as you pull it out to ensure a tight fit.

Step 4: Reinflate Your Tire
• Use a CO2 inflator or hand pump to bring the tire back up to riding pressure.
• Listen for leaks—if air is still escaping, add another plug.
• Spin the wheel to help distribute any remaining sealant around the puncture.
Step 5: Trim the Plug (Optional)
• If the plug is sticking out too far, you can trim the excess with a pocket knife or scissors.
• Be sure to leave a small amount exposed so it stays in place as you ride.

Step 6: Ride On!
Your tire is now sealed and ready to go! A plugged tubeless tire repair can last for thousands of miles, but always check your tire after a ride to ensure the plug is still holding. If needed, you can replace the plug later or patch the tire from the inside for a more permanent fix.
Why a Tubeless Tire Plug Kit is Essential for Every Rider
✔ Fast & Easy Repair – No need to remove the tire or insert a tube.
✔ Lightweight & Portable – The WTB Rocket Tire Plug Kit fits in your saddlebag or pocket.
✔ Works on All Tubeless Tires – Whether you’re riding gravel, mountain, or road, a plug kit is a must-have.
✔ Keeps You Riding – No need to call for a pickup or walk home!
Final Thoughts: Stay Prepared, Ride Confidently

Knowing how to plug a puncture on a tubeless bicycle tire can save your ride and keep you rolling without hassle. WTB’s Rocket Tire Plug Kit is designed for quick and effective trail-side repairs, so you can get back to what really matters—riding.
What if my tire is completely flat? No worries. Watch this!
Be Ready for Anything – Grab Your WTB Tire Plug Kit Today!
Ride More. Worry Less. Ride WTB. 🚴♂️

